The image editor lets you mark up screenshots, hide sensitive content, and adjust framing. To get started, open a guide from your dashboard, click Edit, then click Edit below the image you want to modify.
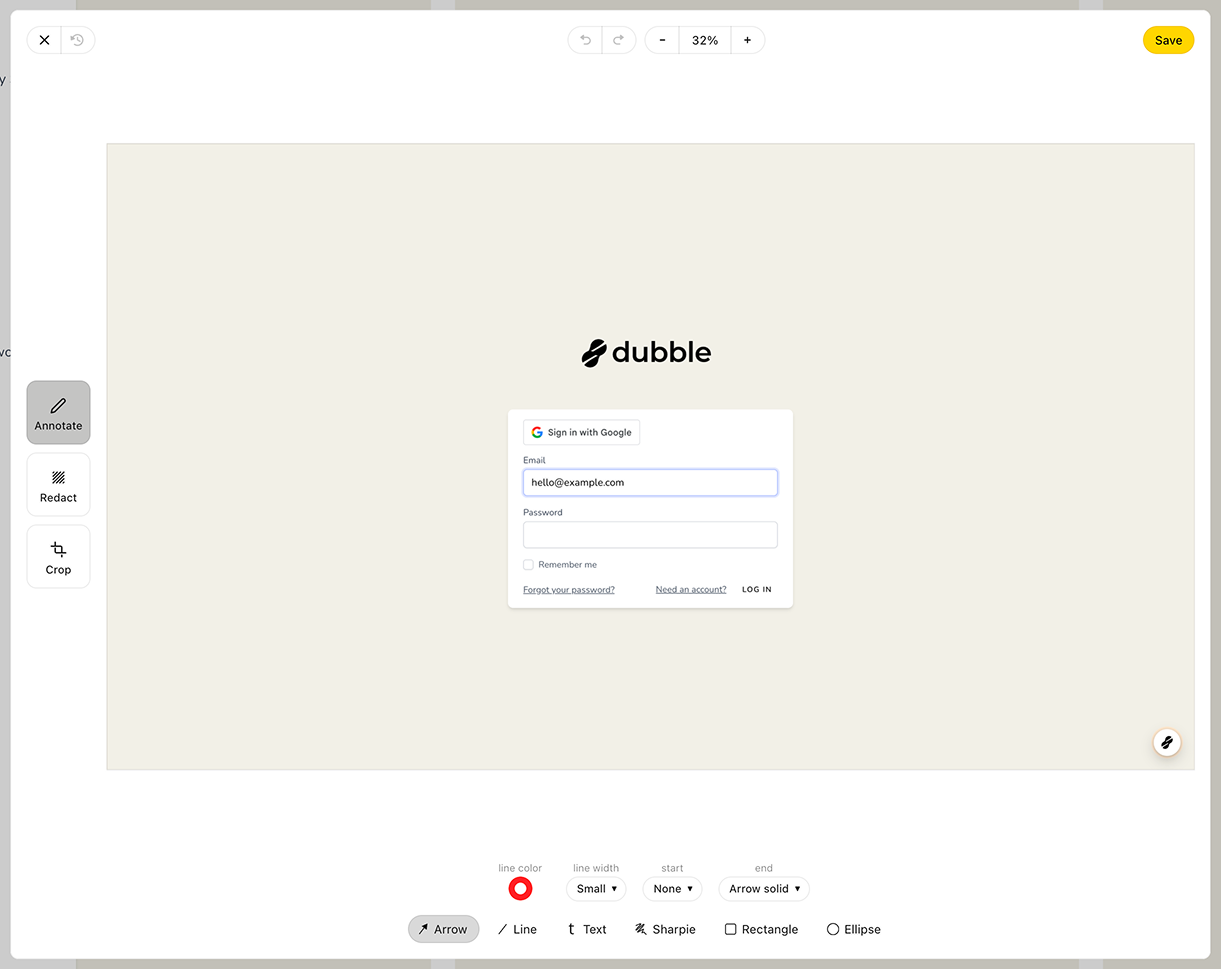
These controls appear along the top of the editor.
Close: Exit the image editor.
Revert: Undo all changes since your last save.
Undo / Redo: Step backward or forward through your changes.
Zoom: Zoom the editor in or out. This doesn't change the image itself. To change how a screenshot is framed in your guide, see How to position and zoom in/out of screenshots.
Save: Save your changes to the screenshot.
Click and drag over the image to add an annotation or redaction. Each one you add is a separate object.
When you select an object, its object controls appear:
Move to front: Place the object above other objects.
Duplicate: Make a copy of the object.
Remove: Delete the object.
Resize, move, and rotate: Drag the corners and edges to resize, drag the center to move, and drag the point on the bottom edge to rotate.
Some tools have extra or fewer controls. These are listed under each tool below.

Click any color option to open the color picker. Adjust the color and transparency, or pick from the color palette.
Line width ranges from Extra small to Extra large.
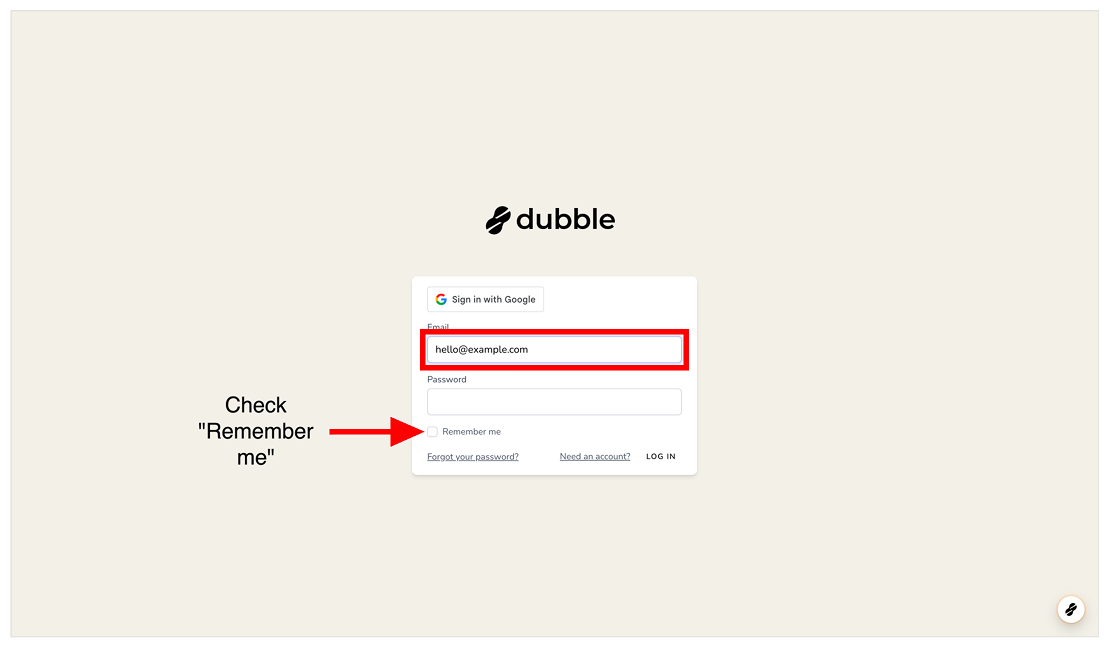
Add arrows, lines, text, freehand drawings, and shapes to point out what matters.
Point to a specific part of the screenshot.
Line color: Set the arrow's color.
Line width: Default is Small.
Start and End: Choose None, Bar, Arrow, Circle, or Square, each as an outline or solid. By default there's nothing at the start and a solid arrow at the end.
Adjust: Click and drag either end to change the length and direction.
Draw a straight line.
Line color: Set the line's color.
Line width: Default is Small.
Start and End: These options appear after you add a line, so you can turn it into an arrow.
Adjust: Click and drag either end to change the length and direction.
Add a label or short note.
Font color: Set the text color.
Font: Default, Sans Serif, Black, Narrow, Humanist, Serif, Old-Style, Transitional, Monospaced, or Slab Serif.
Font style: Normal (default), Bold, Italic, or Bold Italic.
Font size: Extra small (default) to Extra large.
Line height: Extra small to Extra large. Default is Medium.
Text align: Left, center, or right.
Text has these extra object controls:
Edit text: Change what the text says.
Flip horizontal: Mirror the text box.
Auto width: The text box grows wider as you type, and the text stays on one line.
Auto height: The text box keeps its width and grows taller as the text wraps.
Fixed size: The text box stays at the size you set.
Draw freehand.
Line color: Set the color.
Line width: Default is Small.
Sharpie drawings can be moved to the front or removed, but they can't be duplicated or resized.
Draw a box around something.
Fill color: Set the inside color. Use transparency to keep the content visible.
Line color: Set the outline color.
Line width: No outline (default), or Extra small to Extra large.
Corner radius: Round the corners. Default is 0%.
Draw a circle or oval around something.
Fill color: Set the inside color.
Line color: Set the outline color.
Line width: No outline (default), or Extra small to Extra large.
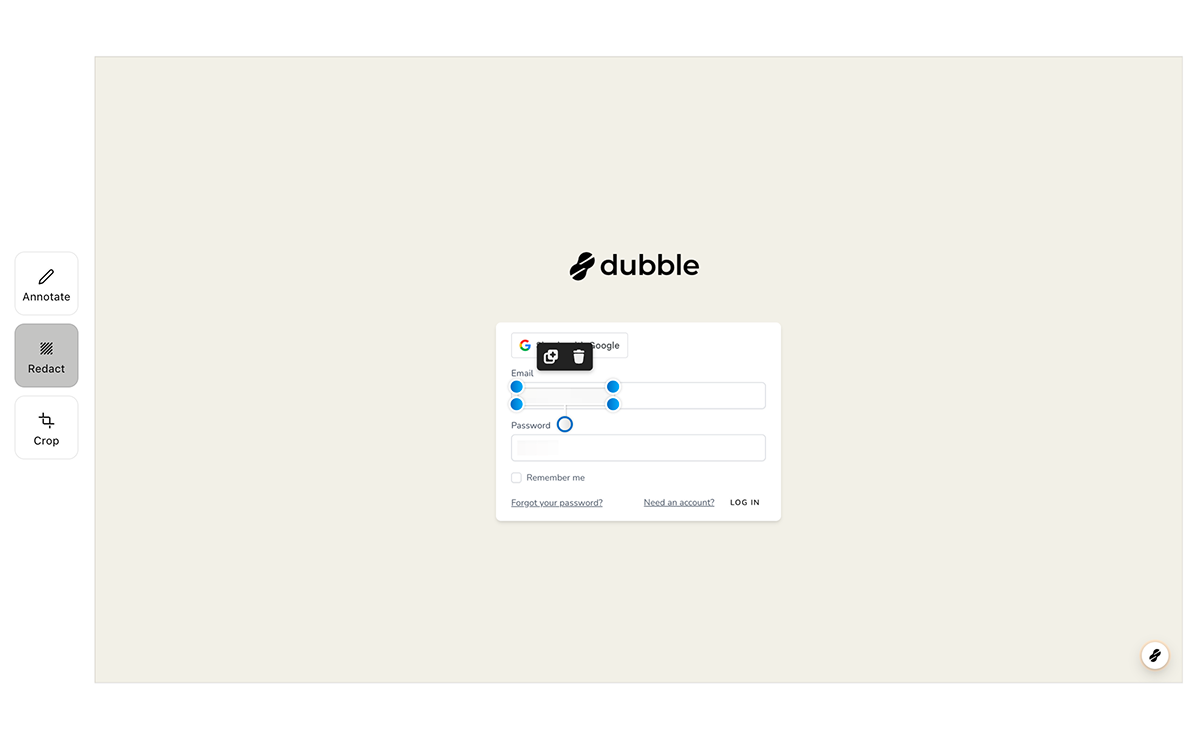
Hide sensitive content such as names, email addresses, or account details. Click and drag over the area you want to hide.
Redactions can be duplicated, removed, resized, moved, and rotated.
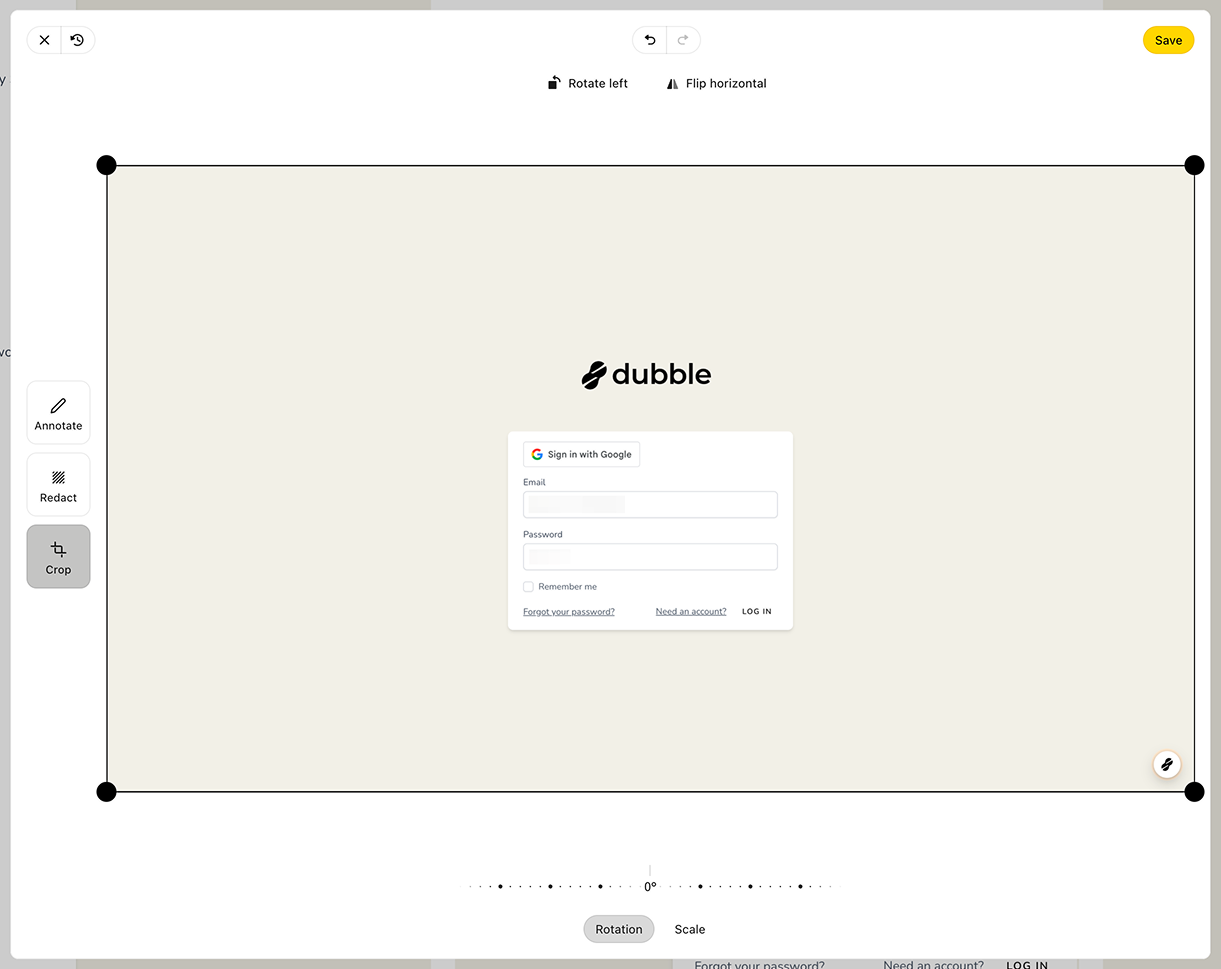
Change the framing of the screenshot.
Crop: Click and drag the corners to crop the image.
Rotate left: Turn the image 90° counterclockwise. Click again to keep rotating.
Flip horizontal: Mirror the image.
Rotation: Drag the slider to fine-tune the angle.
Scale: Drag the slider to zoom in or out of the image.
Manually add images to a Dubble guide
Replace images on steps with your own images.
Update a screenshot from a screen recording
Replace a screenshot with a different frame from your screen recording. Use the slider to rewind or fast forward to the moment you want.