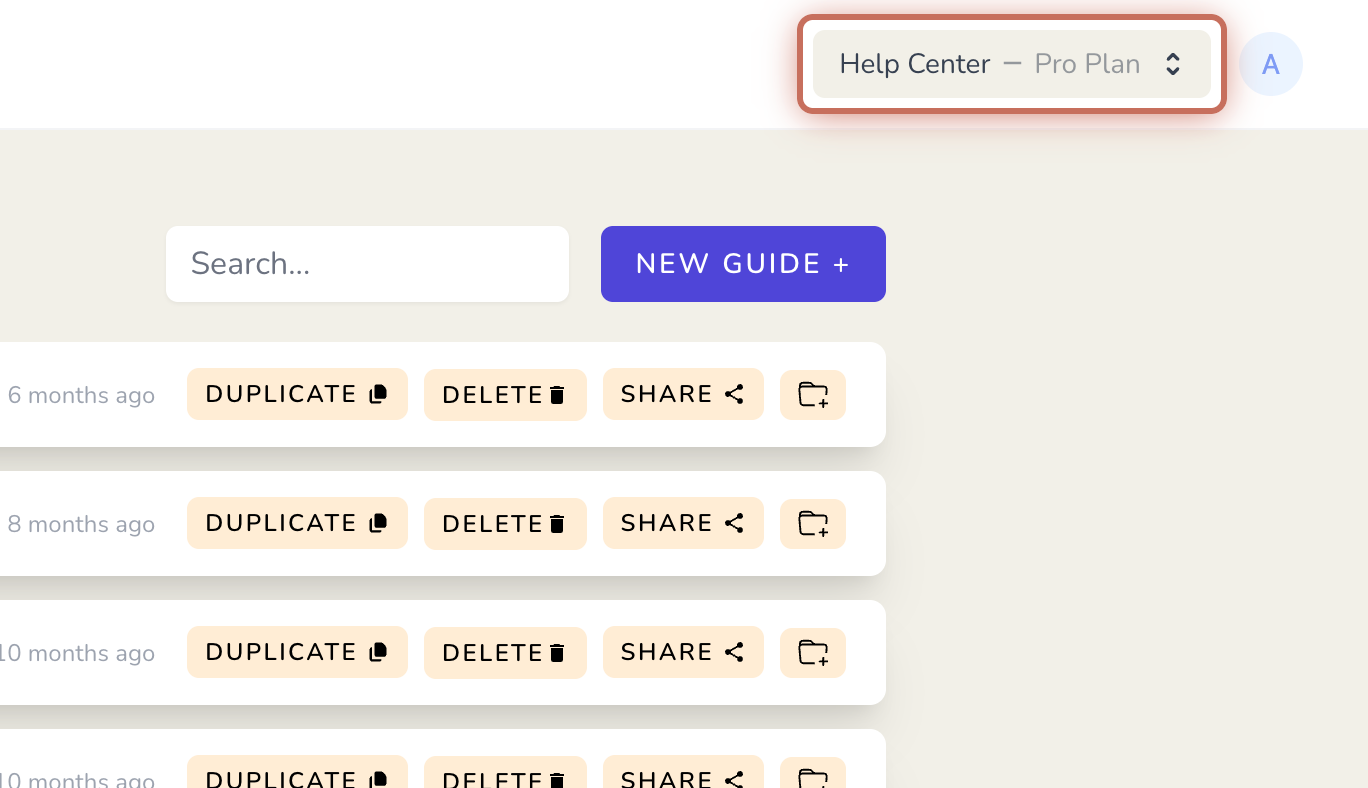
1. From the dashboard, click on the workspace picker.

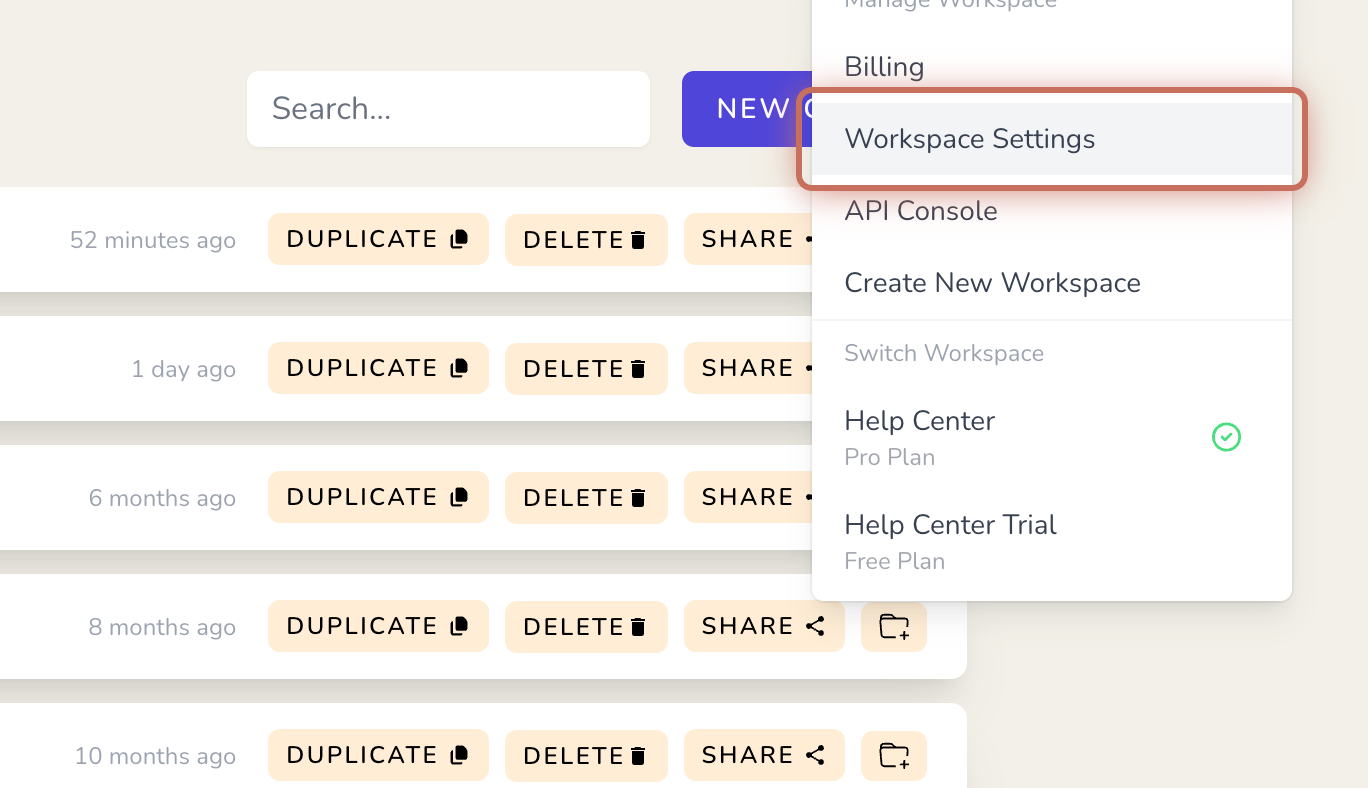
2. Select Workspace Settings.
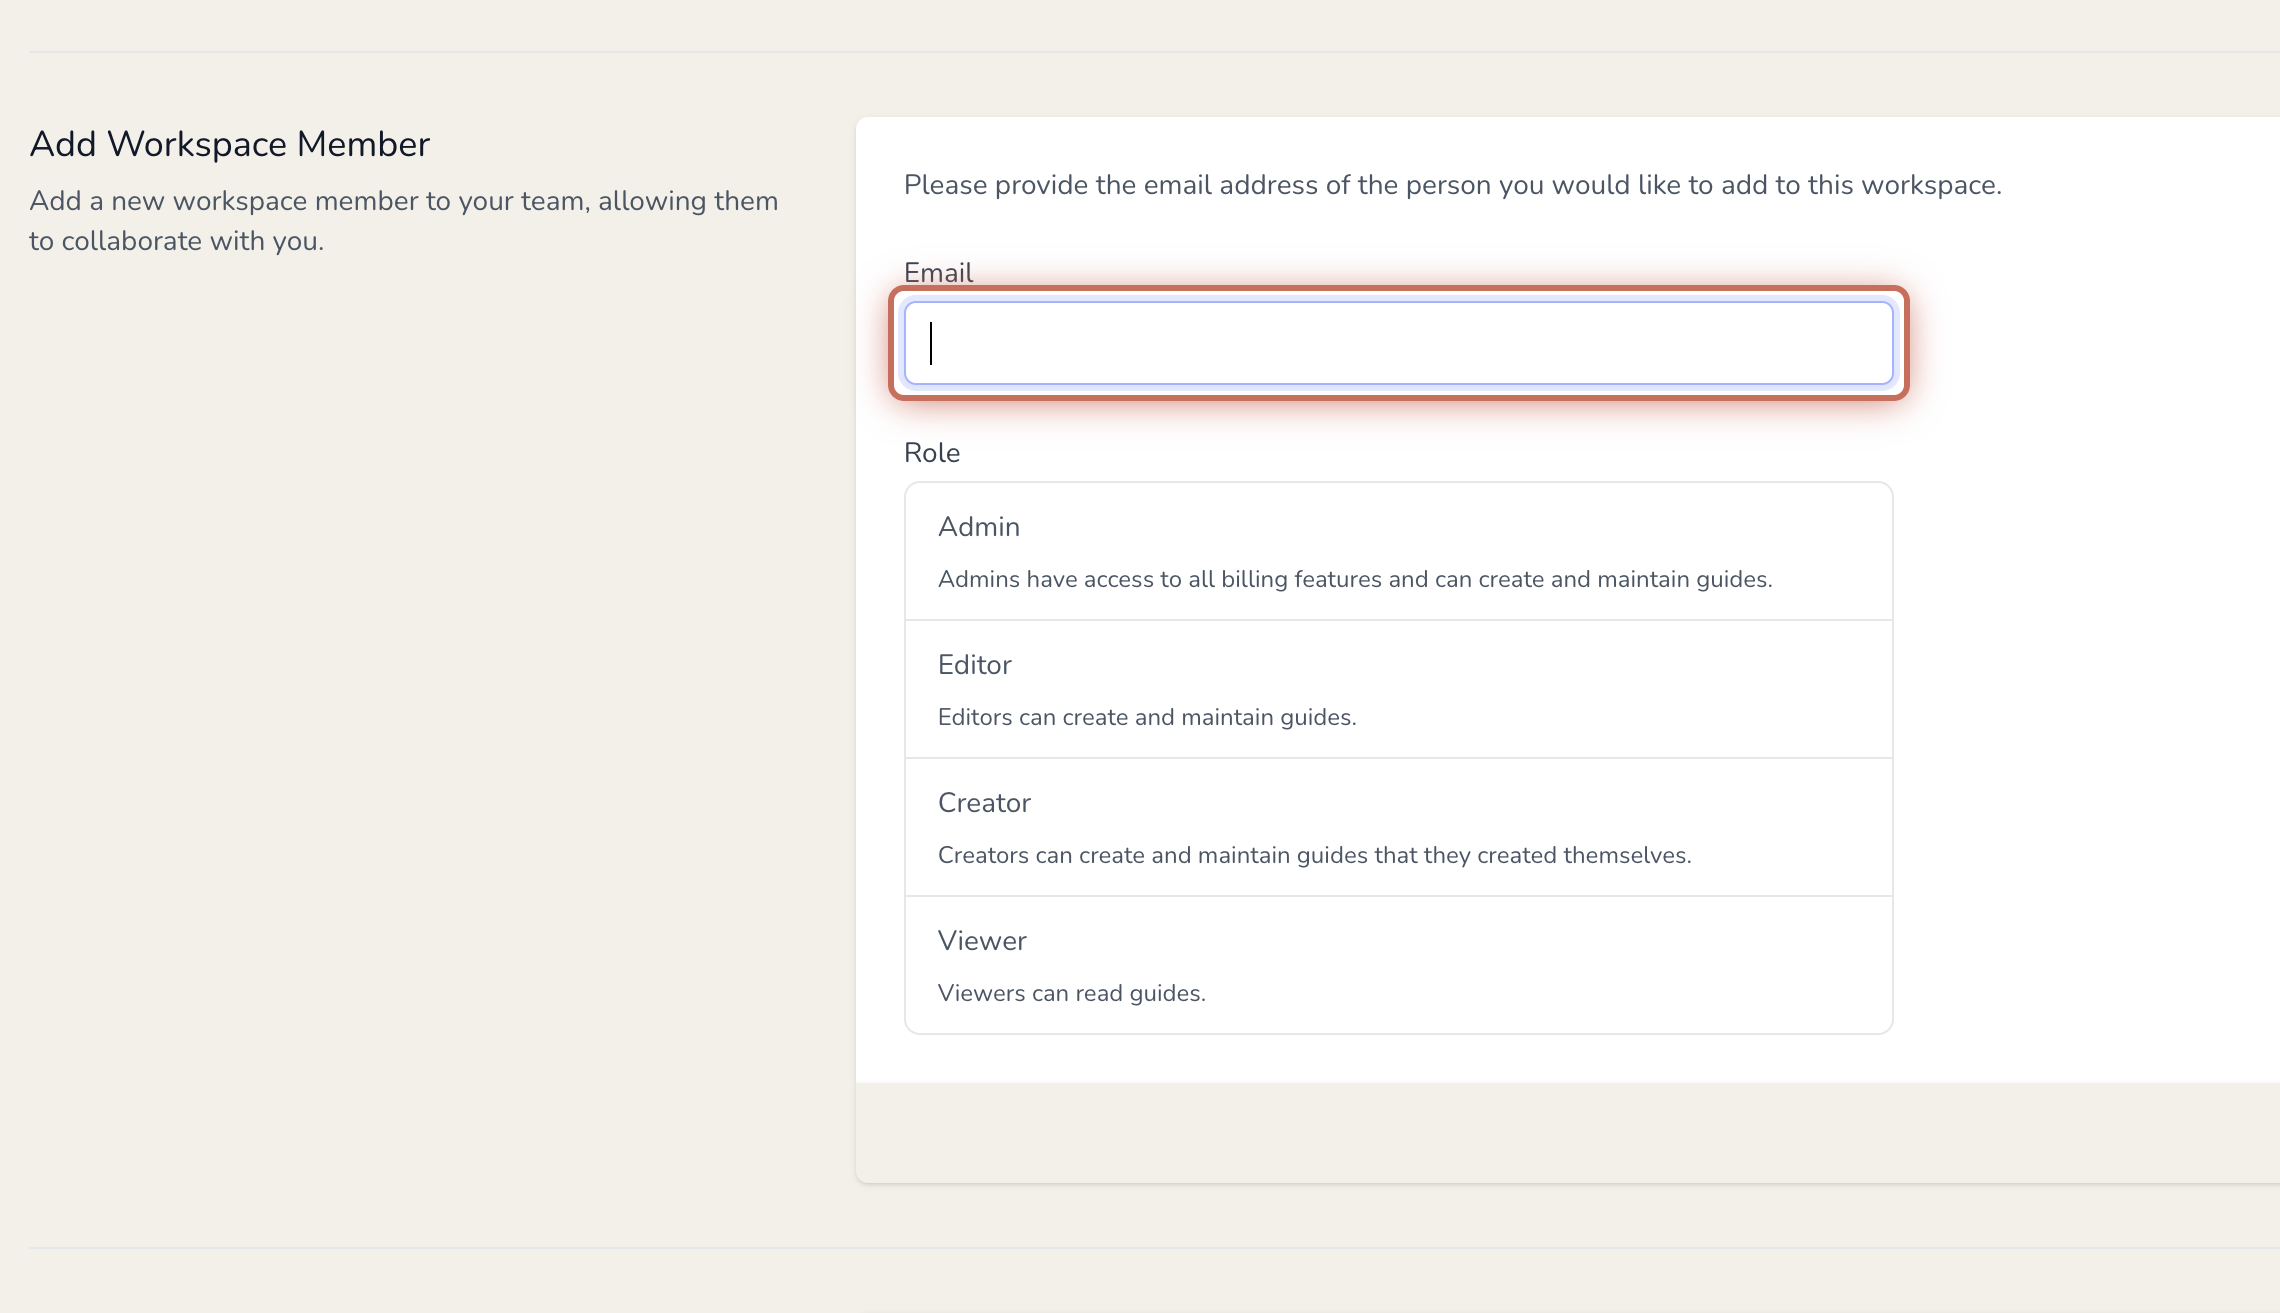
3. Scroll down to the Add Workspace Member section and add an email.
4. Choose a role for the team member and click ADD.
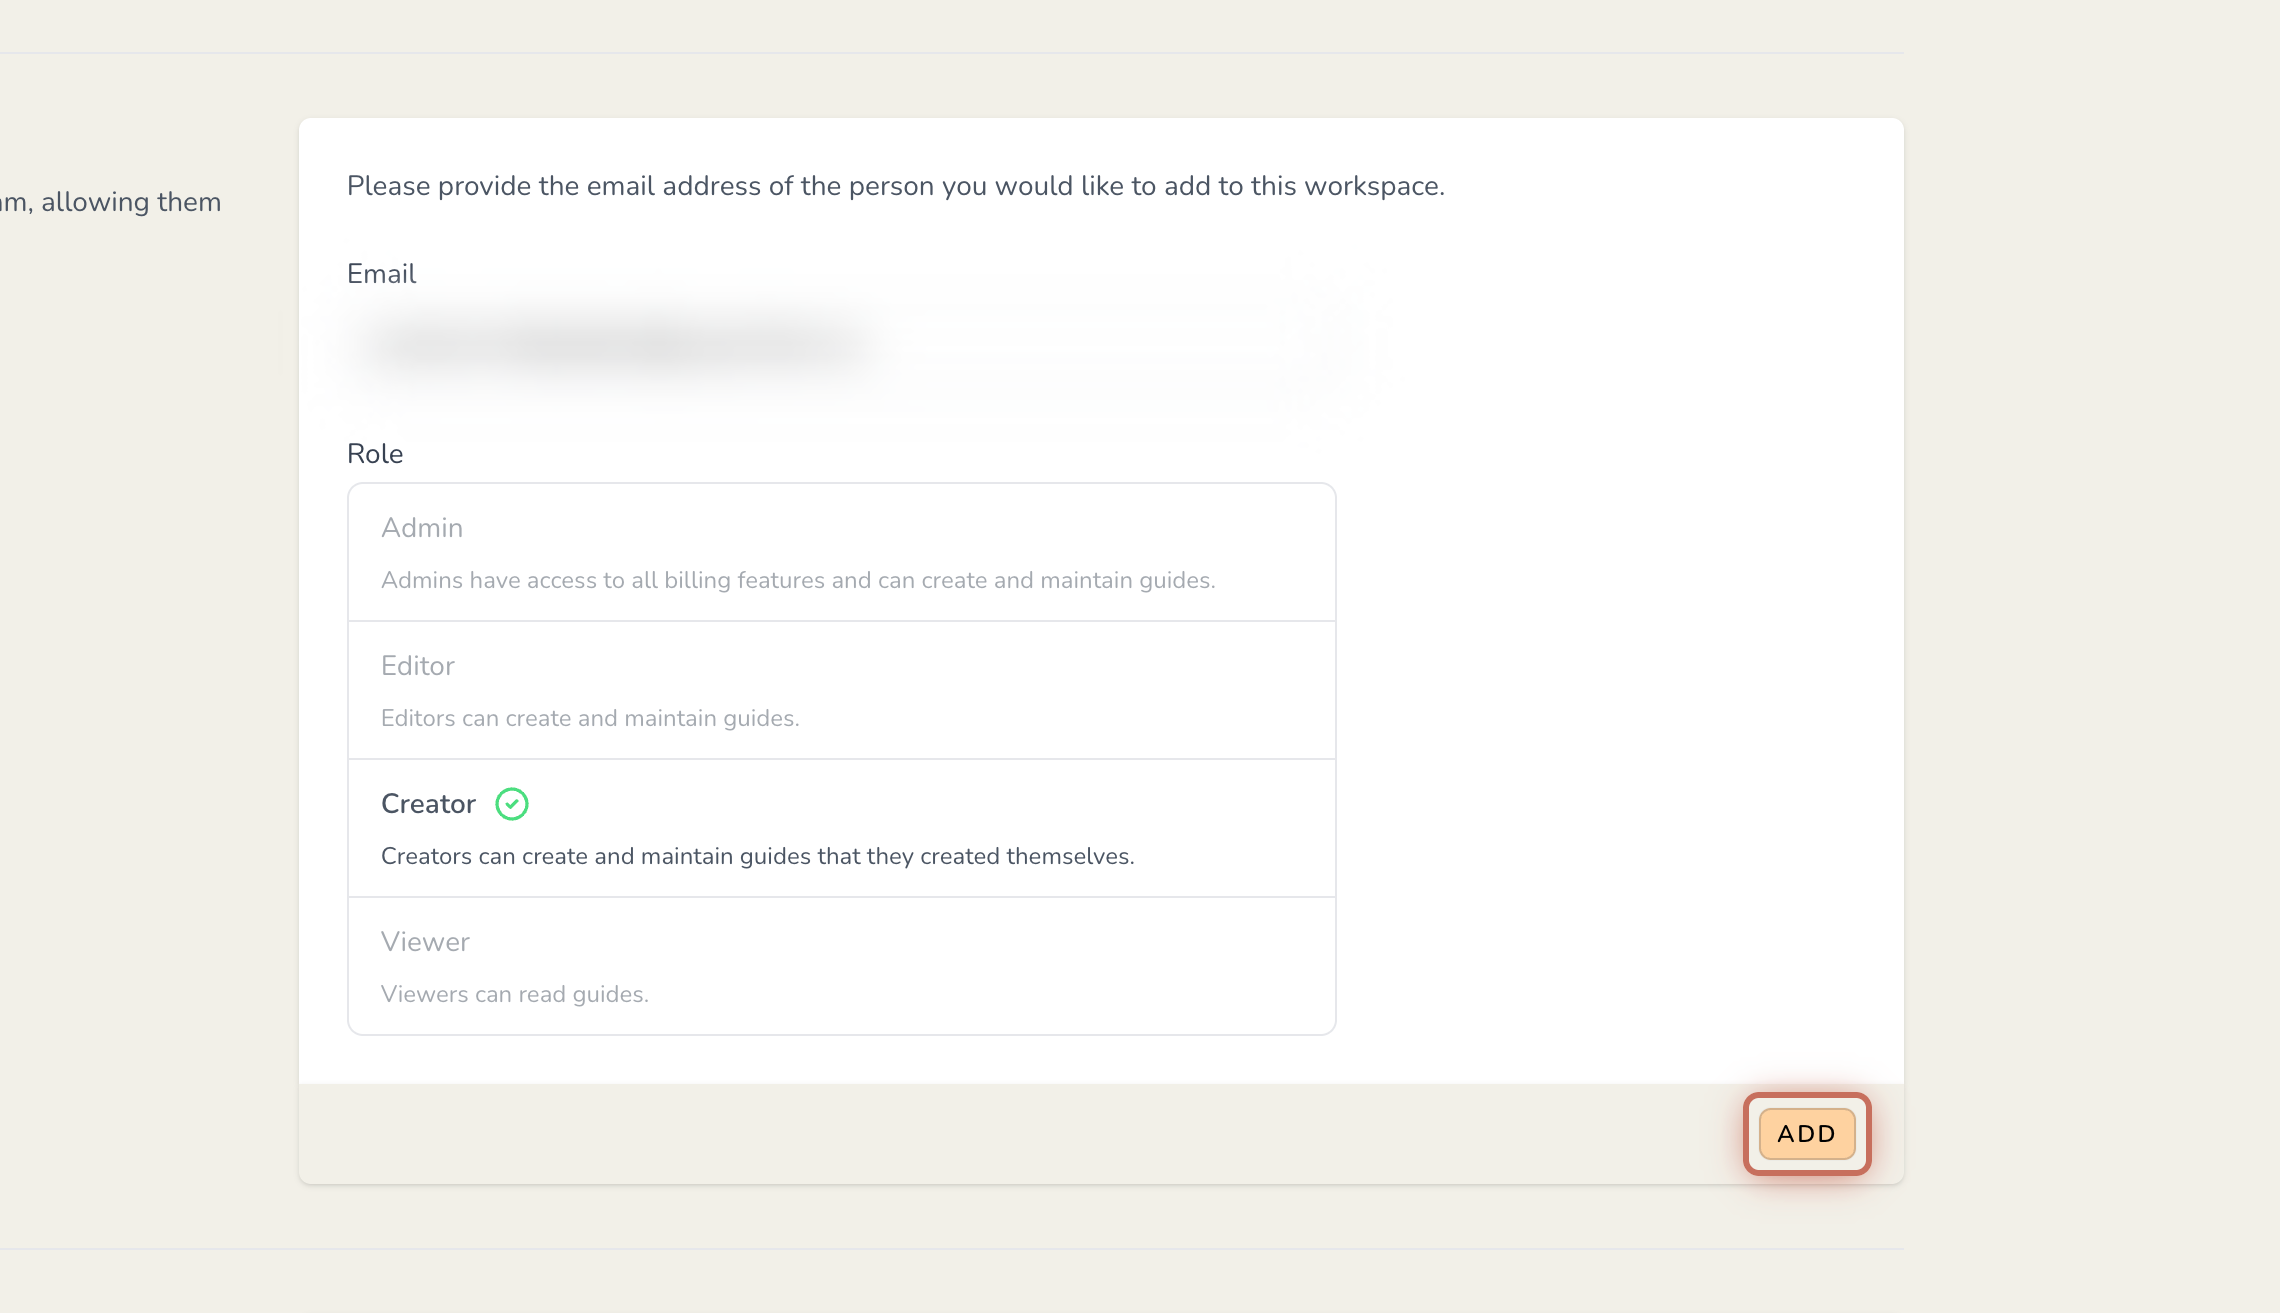
There are several different roles to choose from. The available roles depend on your plan for the workspace:
Viewer: Viewers can read guides but can't edit them.
Admin: Admins can access all billing features and maintain guides.
Editor: Editors can create and maintain guides.
Creator: Creators can create and maintain guides that they created themselves.
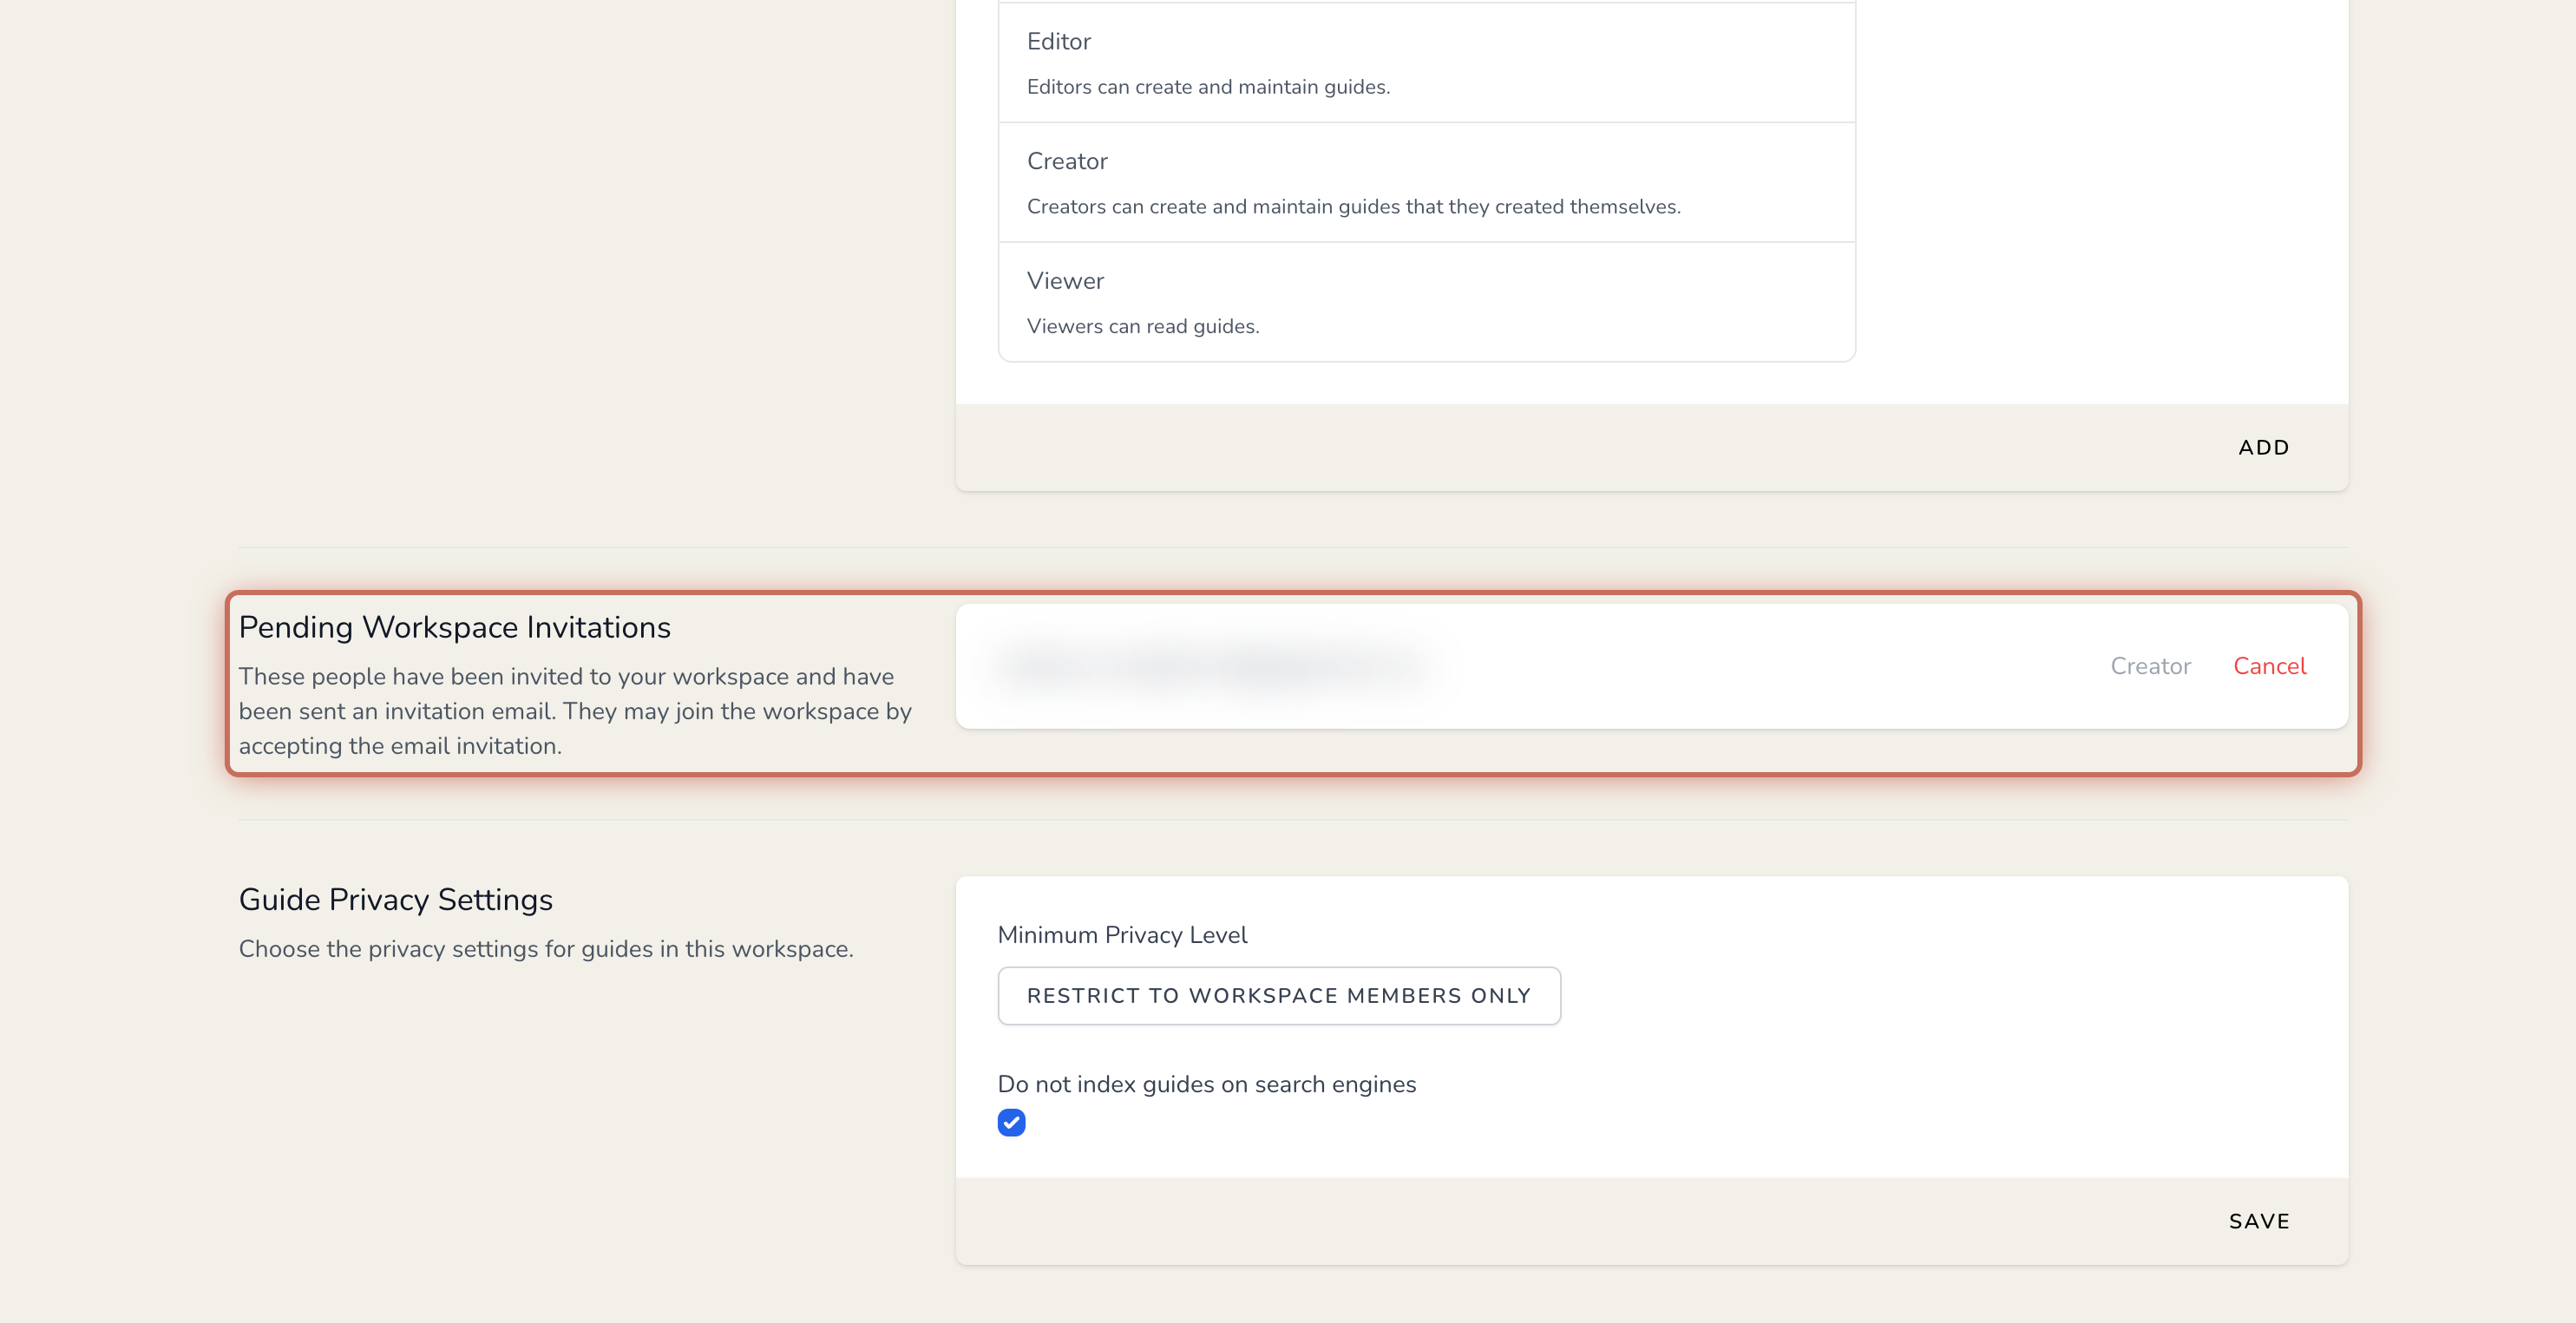
1. Invitations awaiting a response will appear in Pending Workspace Invitations, including the invitee's role.
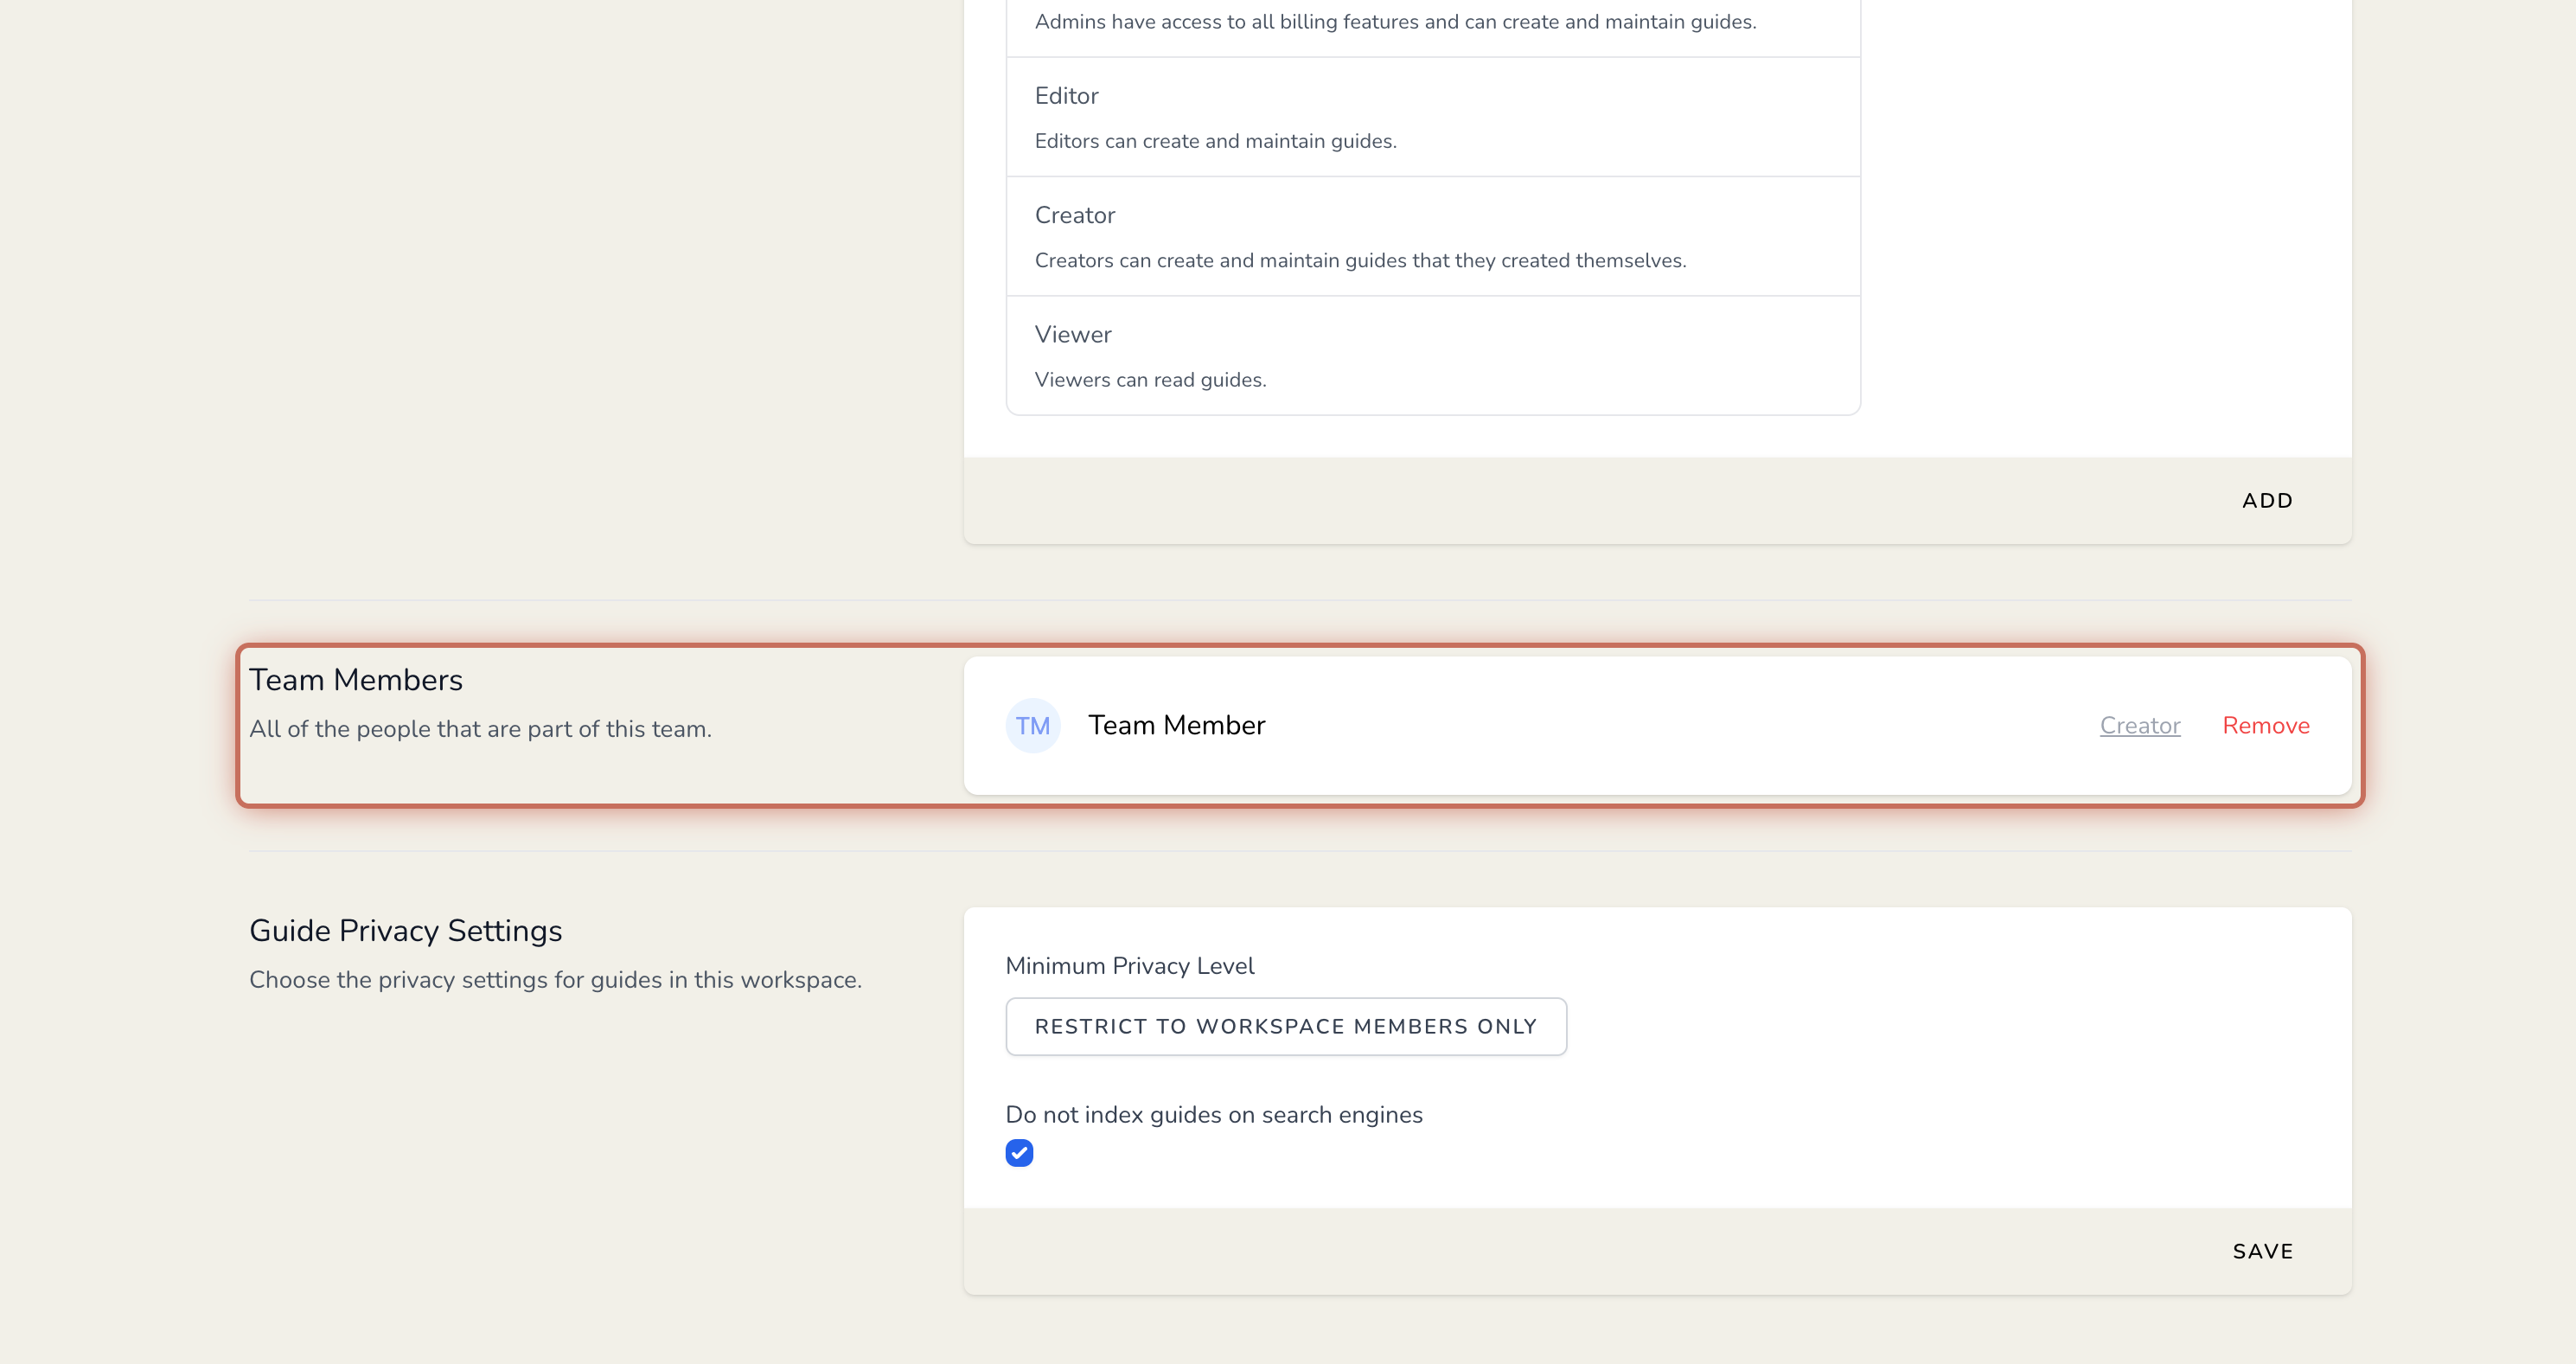
2. Once an invitation is accepted, the team member will appear in the Team Members section.
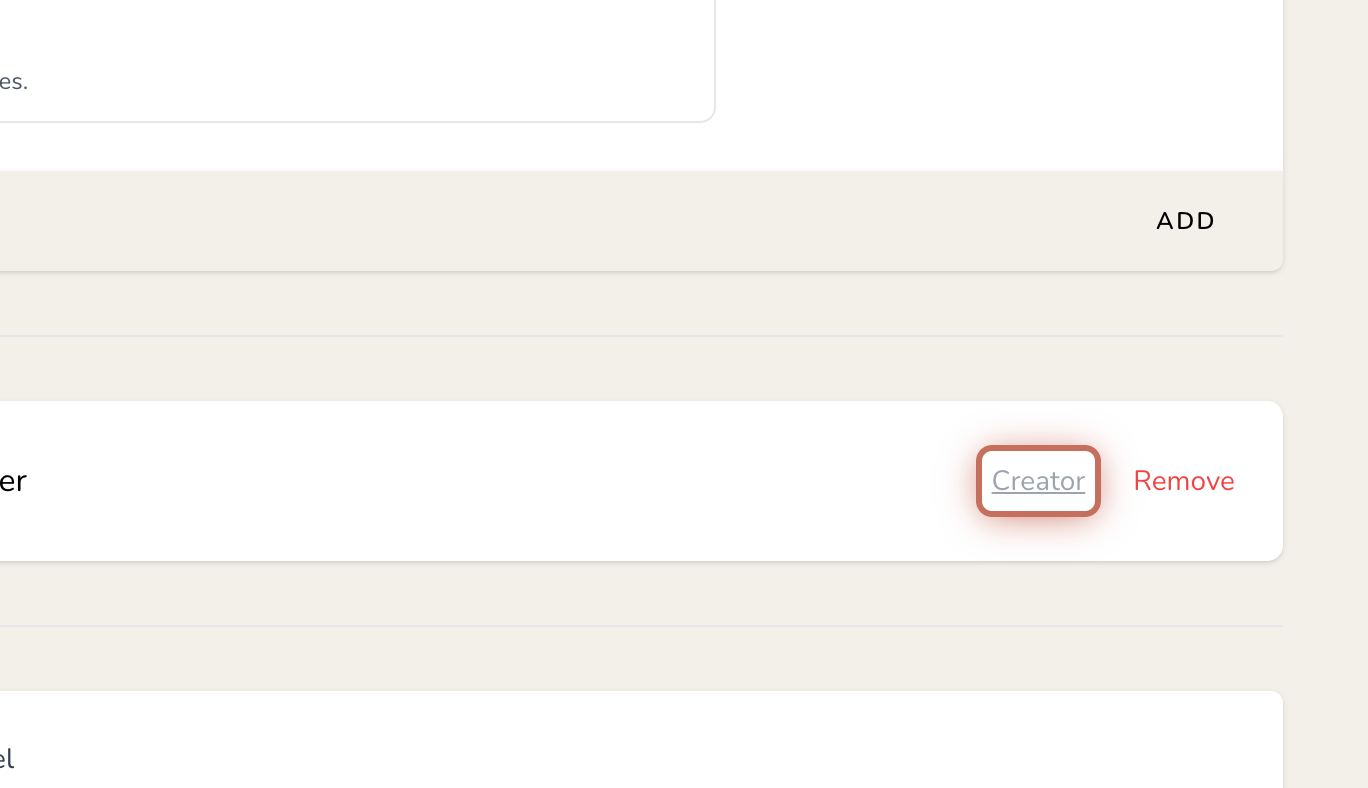
1. Change a team member's role by clicking their current role.
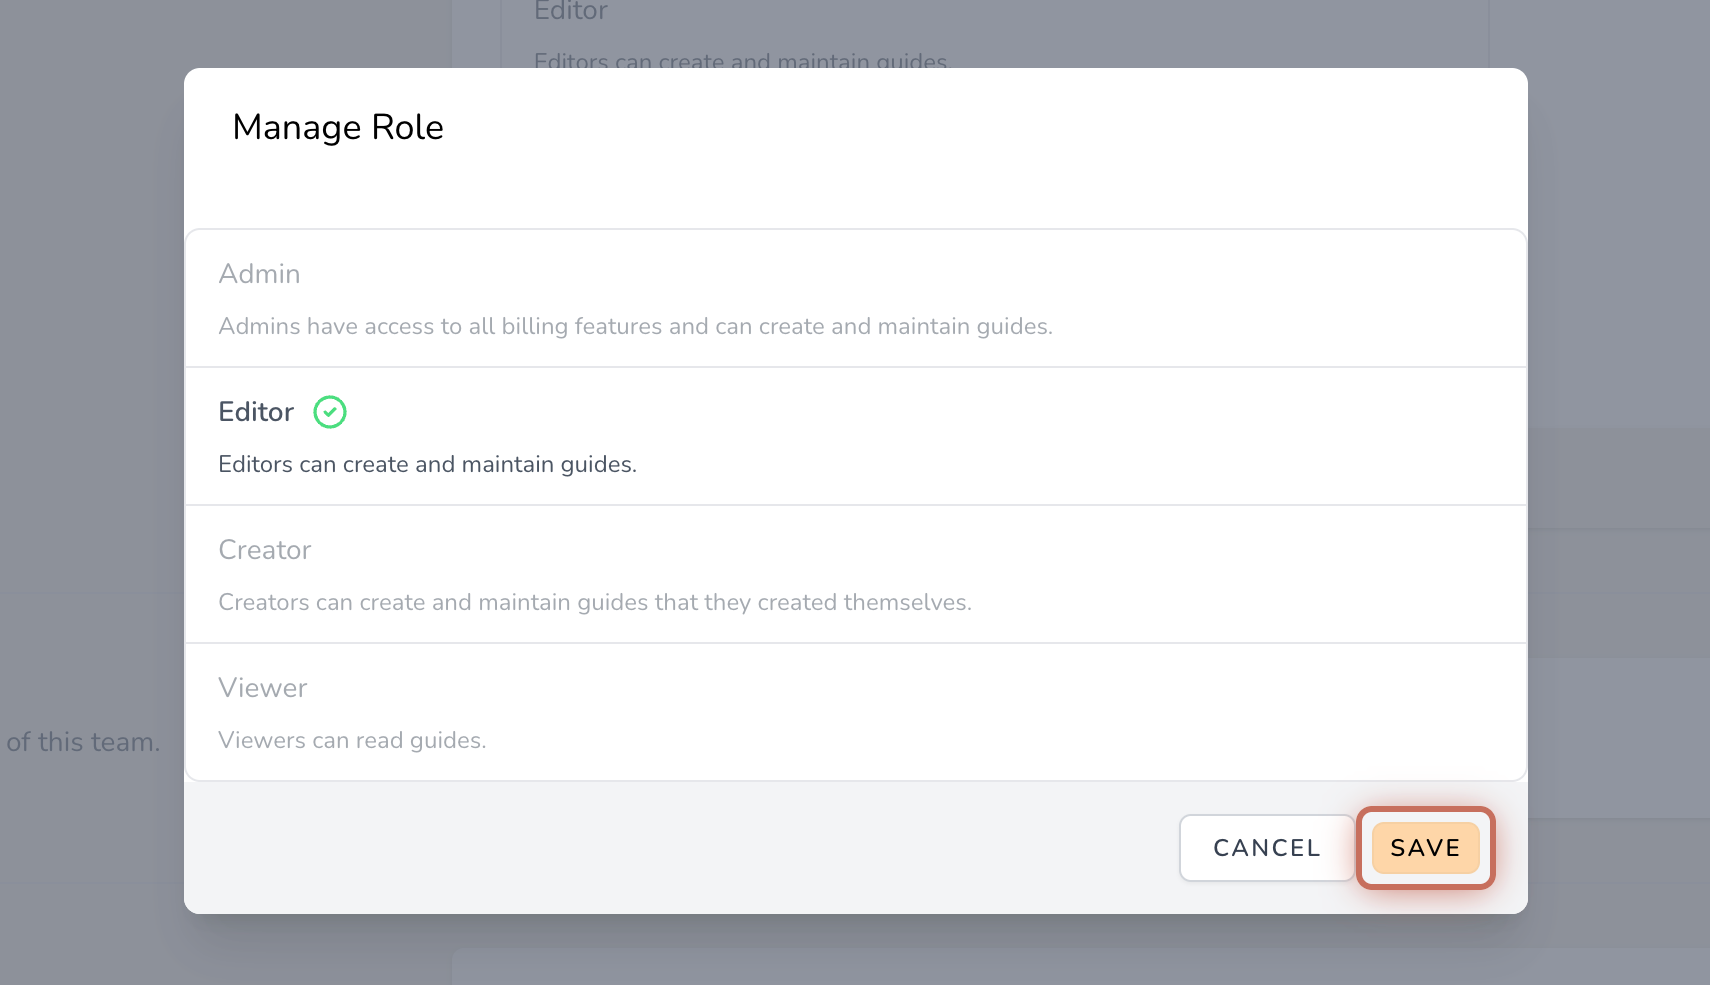
2. Select a new role and click SAVE.
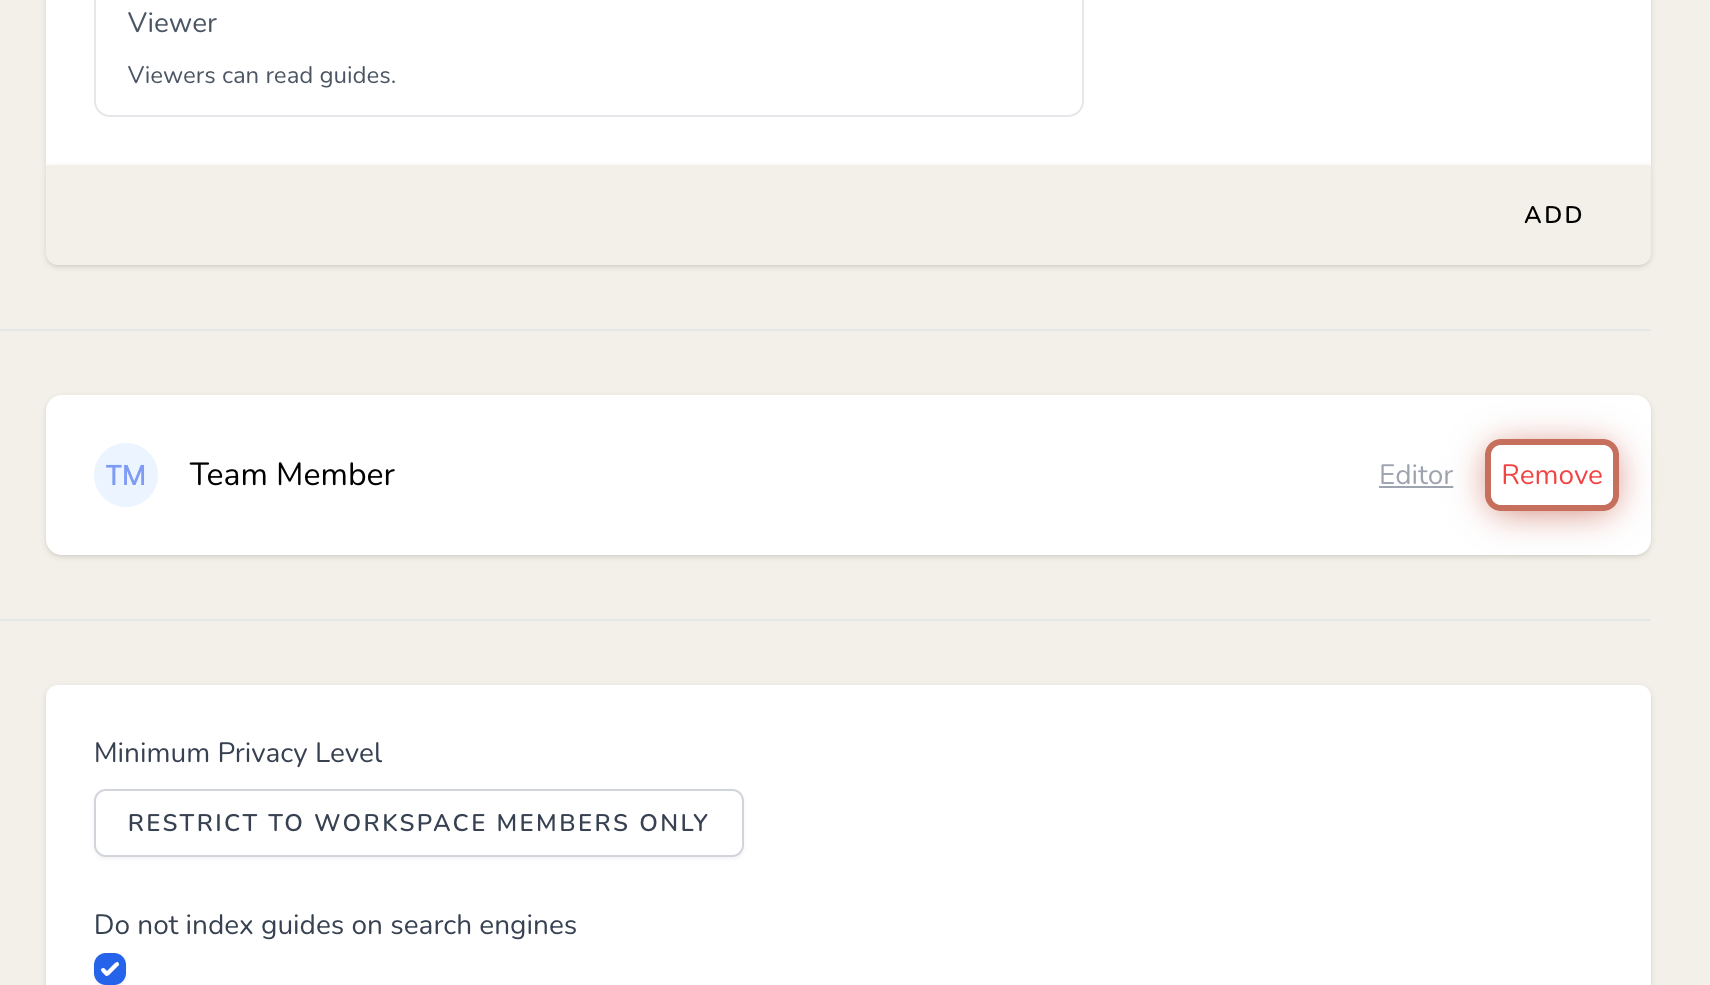
1. Choose a team member and click Remove to the right of their name and role.
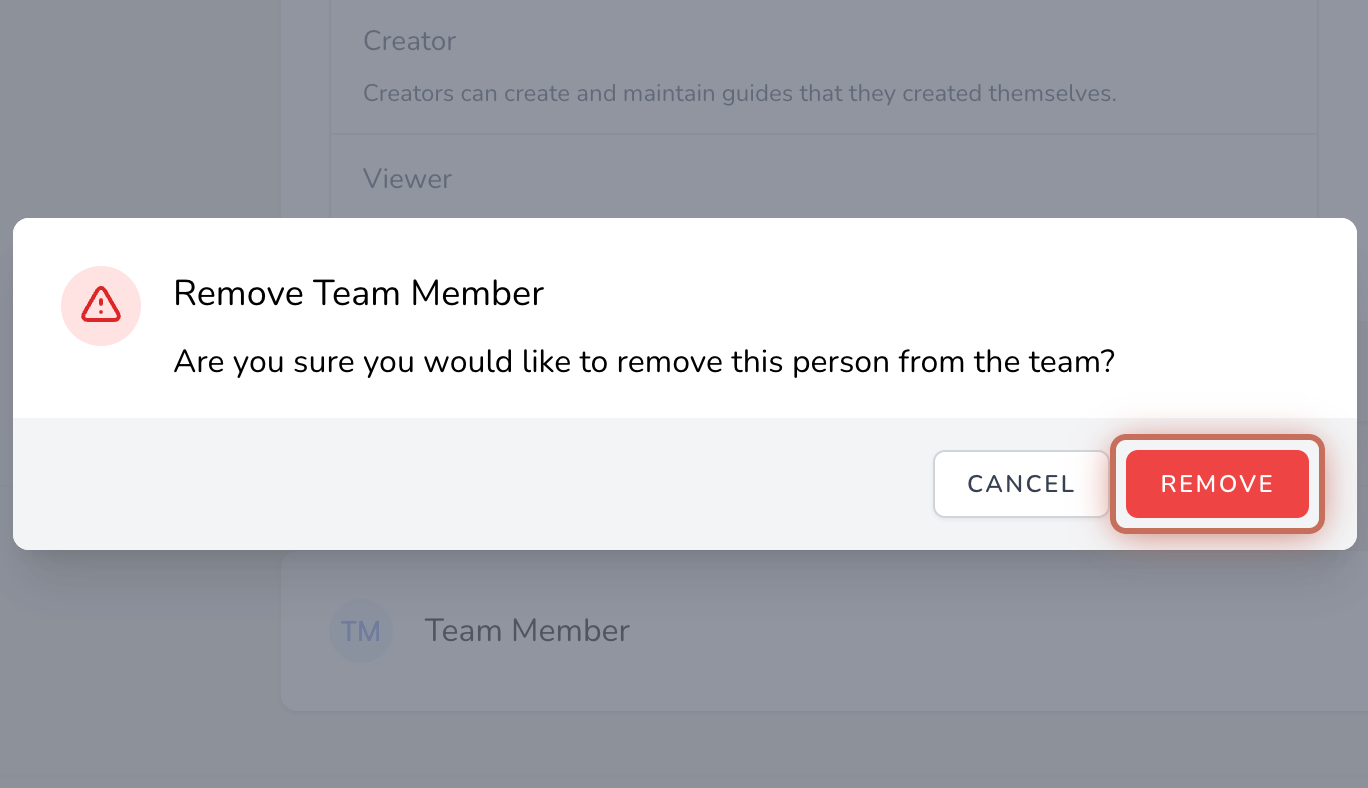
2. Click REMOVE to confirm.
You can also export and publicly share your guides.
Sharing your guides
Quickly share your guides with your team or export them to use elsewhere.